
Floating Brioche
OK, I’ll be honest. This is quite the recipe, but I promise it will be finger licking good. We’re making a brioche, stuffed with pastry cream, floating in a thick chocolate milk decorated with salted caramel. Ha!
INGREDIENTS
For the brioche
375g all-purpose plain flour
190 g milk, warm and as needed
230 g melted butter
25 g granulated sugar
1 tbsp instant yeast
1/2 tbsp salt
1 tbsp light colored sweetener
For the cream
500 ml of fat milk like soy or almond
25 g of maizena
25 g of corn flour
100 g sugar
1 cinnamon stick
One zested orange
One zested lemon
For the creamy chocolate milk (per serving)
1/2 cup of mil
1 tbsp of cream
1 tsp of pure cacao powder
For the salted caramel
200g granulated sugar
85g tablespoons unsalted butter, cut into small pieces to safe your hands (you’ll learn why later on…)
120ml heavy cream (I prefer whipping cream to cooking cream)
1 tsp salt
PREPARATION
The brioche
Step 1: make the dough
Add all the ingredients except the liquid sweetener to a large bowl and mix until combined. If you use a stand mixer: don’t use the whisker but the mixing hook. If you do this by hand a wooden spoon will do. If your milk is very warm, you want want to mix all the ingedrients except for the liquid sweetener and the yeast quickly first. At the yeast after and mix a little more.
Knead the dough for at least 5 minutes or until the dough becomes soft and elastic. If you're using a stand mixer, use the dough hook and knead until the dough is smooth and comes away from the sides of the bowl. If the dough is a little dry, add a little more milk and knead again. If the dough is still sticking on the bowl, add a little flour and knead again. The softer your dough is, the softer your brioche buns will be!
Step 2: time for a rest
Leave the dough in the bowl and cover with a damp tea towel. Leave it in a warm area to double in size for at least 1 hour.
When the dough is puffy, divide it into 8 even parts (about 90g each). Shape each part into a smooth round ball. Arrange the balls on a lined baking tray with about 5 cm between each one. Cover the tray with a damp tea towel and leave it in a warm area to rest for at least 1 hour. The dough should increase in size by around 50% and feel puffy.
Step 3: Let’s bake baby
When the dough is puffy again, preheat the oven to 180°C.
Bake the buns the oven for 15-20 minutes or until the surface is golden brown. The buns are ready when you can tap the bottom of one and it sounds hollow.
To make the brioche glaze, combine the liquid sweetener with 1 tablespoon of water. When the brioche buns are still hot, brush the top with the sugar glaze syrup then allow it to rest.
Enjoy the brioche immediately. Like all home-made breads, the brioche is best eaten the day it is baked. Alternatively, store the buns in an airtight room temperature for 3-5 days or in the freezer for up to 1 month. Warm up the brioche before you eat it again: defrost for one hour and put them in the air fryer for 5 minutes on 120°C.
The cream
Let's make some vegan pastry cream!
First of all, set aside a couple of tablespoons of milk, which we mix with the maizena and corn starch.
Now, in a saucepan, heat the remaining milk with the orange and lemon west and the cinnamon stick. When the milk begins to boil, turn off the heat and let it sit for 10 minutes.
After ten minutes, take out the cinnamon stick and mix in the maizena and corn starch mix and sugar. Start heating the mixture again.
Bring to boil and let boil for about two minutes, while feverishly continue to stir. Be careful not to burn the bottom of the pan.
Let cool down before you use it further. This can easily be overnight.
The salted caramel
It only takes 15 minutes, but it needs your constant attention, so this is not the time to take selfies, check out the rescues at Hektor or make a phone call with your mother-in-law.
In a medium heavy-duty stainless steel saucepan (do not use nonstick) over medium heat, cook the sugar, stirring constantly with a wooden spoon or heat-safe silicone spatula. Sugar will form clumps and eventually melt into a thick brown, amber-colored liquid as you continue to stir. Stir constantly, especially around the bottom edges, and be careful not to let it burn. This will take between five and ten minutes.
Once the sugar is completely melted, reduce the heat to low and stir in the butter. Now watch it, as this will bubble and splatter - which might cause a burning. DROP YOUR PHONE.
Cook and stir constantly until the butter is melted and well combined. If you notice the butter separating or if the sugar clumps up, remove the pan from heat and vigorously whisk to combine it again. Keep whisking until it comes back together, even if it takes 3–4 minutes. It will eventually—just keep whisking. Return to heat when it’s combined again.
Very slowly and carefully pour in the heavy cream, stirring constantly. Since the heavy cream is colder than the hot caramel, the mixture will rapidly bubble and steam when added. When all of the heavy cream has been added, stop stirring, increase the heat to medium, and let it boil for 1 minute. It will rise in the pan as it boils.
Remove from heat and stir in the salt. The caramel will be a thin liquid at this point. Allow to slightly cool and thicken before using. Caramel thickens considerably as it cools.
You can store the caramel in the fridge in a jar or squeezeable bottle (which makes for nice drawings :) ). Heat up if you want to use it, either in the microwave or at room temperature.
The creamy chocolate milk
OK, we’ve done the hard part. Mix all the ingredients together in a sauce pan. Heat and mix sure to whisk several times. Avoid cooking. Keep aside of there well heated and no lumps of cacao remain.
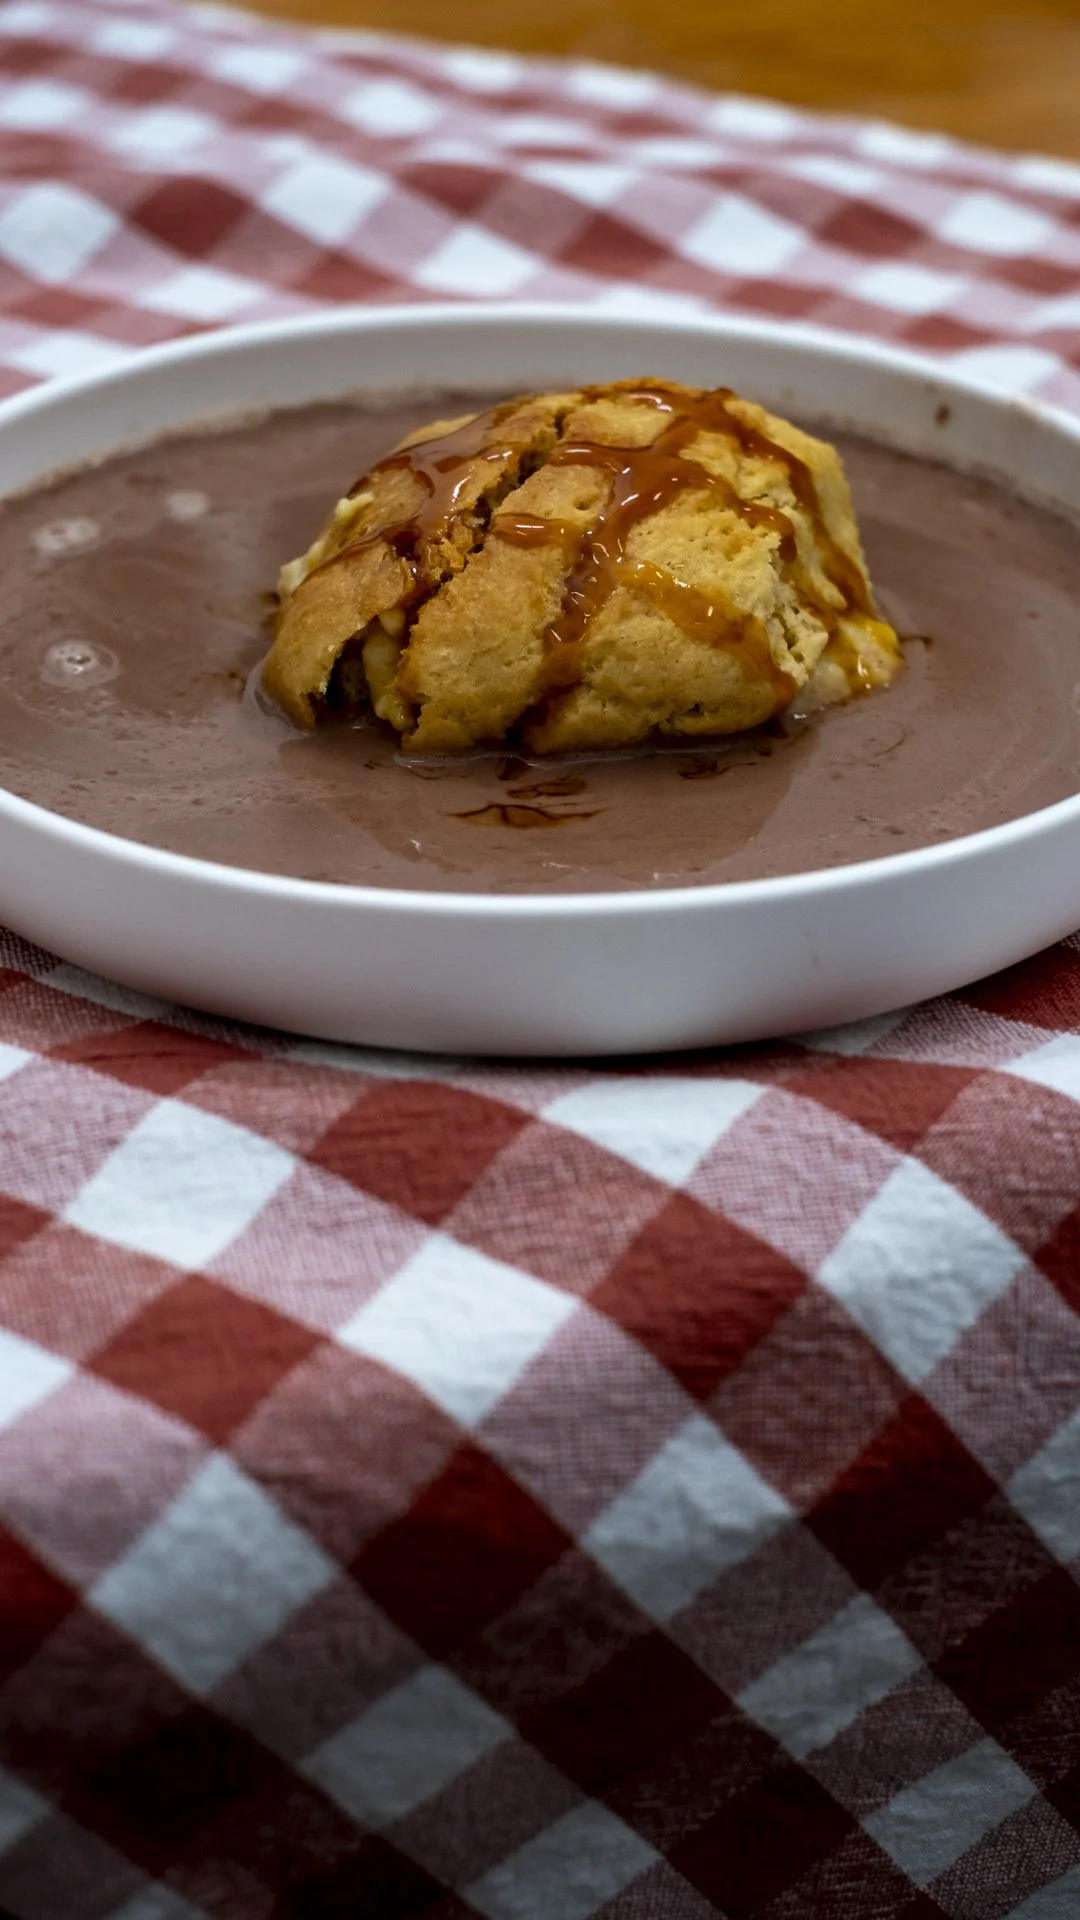
Setting up the chocolate brioche
Start with filling up the brioche: fill a food syringe with the cream. On all four sides, inject 1/4 of the syringe. Your brioche might break a little, but who doesn’t love a bit of cream dripping out…
Pour your chocolate milk in a deep plate or a bowl that is slightly bigger than your brioche.
Drop the brioche in the milk. Not from too high, or chocolate stains will be yours.
Decorate with the salted caramel. Serve with a spoon to avoid people slurping.